

 1A 3.5V 42x42x20mm 4 Wires (17HS08-1004S)")
 2A 42x48mm 4 Wires compatible with 3D Printer/CNC")

 2.8A 3.2V 57x57x76mm 4 Wires (23HS30-2804S)")
 3A 3.36V 57x57x76mm 4 Wires CNC Stepping Motor")
 4.2A 57x57x114mm 4 Wires CNC Stepper Motor (23HS45-4204S)")


 1.5A 42x42x38mm 4 Wires")
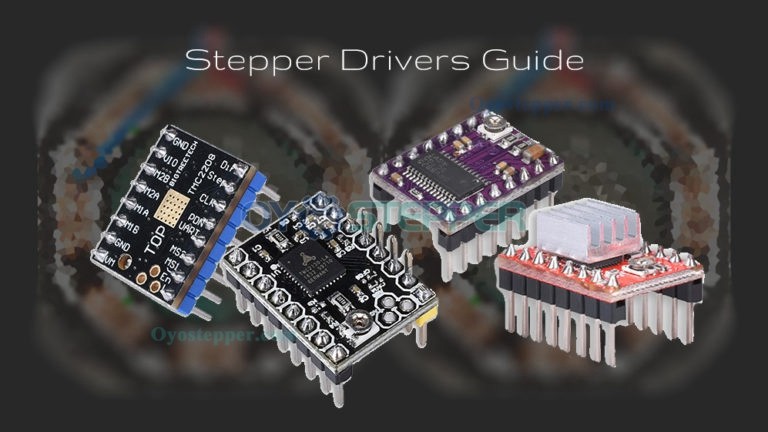
Stepper Driver Guide for 3D Printer Mainboards
Stepper Drivers are an important part of any 3D printer. We’ve covered a little about how your printer works. You feed it instructions in a language called GCode, which basically says “Up Z Axis, Increase Y Axis, Decrease X Axis, Extrude 1mm.” There is a small problem with this though: how do we know the printer is moving a millimeter?
Think about a typical motor, like the motor in a window fan or in your blender. It has basically two states: on and off. You can change how fast it’s going, but there’s no feedback exactly to say how much it’s moved. The motor is just getting more or less current, which causes it to move faster or slower. The RPMS is suitable for a fan, but if you wanted to move exactly 1 cubic foot of air, you wouldn’t have the control to do it, not enough precision or feedback.
The solution?
This is where the step motor comes in. The motor in your fan, washing machine, blender, and most other common appliances has perhaps four windings in it. These are electro magnets that attract and repel the armature, the metal shaft that goes through the motor. There isn’t a lot of precision with just four windings. In normal operation, they rapidly toggle on and off to force the armature to spin past them. If we left one on, the armature would point at it. Turn another on, it moves there. Maybe put on two at once, side by side, and we could get the armature stuck in between them. It’s not wired to do that, but that’s about what would happen. A stepper motor works on that principle, we turn on the windings we need to control exactly where the armature is.
In a stepper motor, the armature has teeth that are attracted to the windings. Each movement of a tooth to a winding is a step. There are typically thirty plus teeth on the armature. Thirty steps to a full rotation. Combine this with some gearing, such as the long threads of a 3D printer or the notches of a drive belt, and we’re able to get sub-millimeter precision. A step up from that, you take more direct control of the windings and you can do something called Microstepping, where you control the position between steps.
Previous:Tips on Wiring a step motor to a driver
Next:How to Change the current setting on the stepper motor driver
